Export Google Docs™ to Blogger™
Welcome to the Tenwrite user-guide on exporting your Google Docs™ content to Blogger™. Tenwrite offers a user-friendly Google Docs™ add-on that streamlines the process. This guide will walk you through the step-by-step process of seamlessly transferring your content from Google Docs™ directly to your Blogger™ blog using the Tenwrite add-on.
Prerequisites
Before you begin exporting your Google Docs™ content to Blogger™ with Tenwrite, make sure you meet the following requirements:
- Existing Blogger™ Blog: Make sure that you have one or more existing Blogger™ blogs in your Google account. Go to blogger.com and create your blog if you don’t have one.
Step-by-Step Guide
In this section, we’ll guide you through each step of the export process. Whether you’re a seasoned blogger or new to content migration, these simple instructions will make the transfer from Google Docs™ to Blogger™ a breeze.
Step 1: Open Google Docs™
Ensure you are signed in to your Google account. Open Google Docs™ in your web browser.
Step 2: Launch Tenwrite Addon
In the menu at the top of the Google Docs™ interface, click on Extensions, select Tenwrite and then click on Export to Blogger.

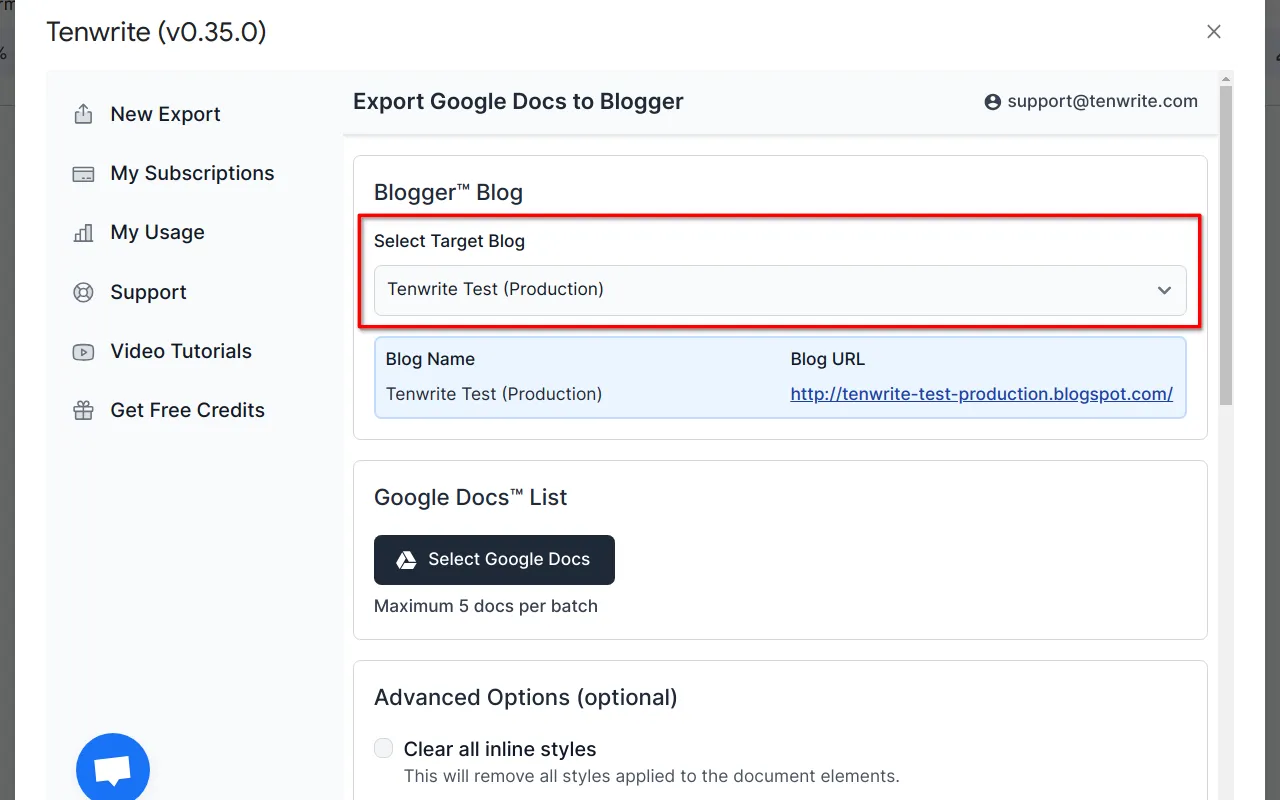
Step 3: Select Blogger™ Blog
If you have more than one Blogger™ blog, use the dropdown to select your preferred Blogger™ blog where you want to transfer the Google Docs™ content.
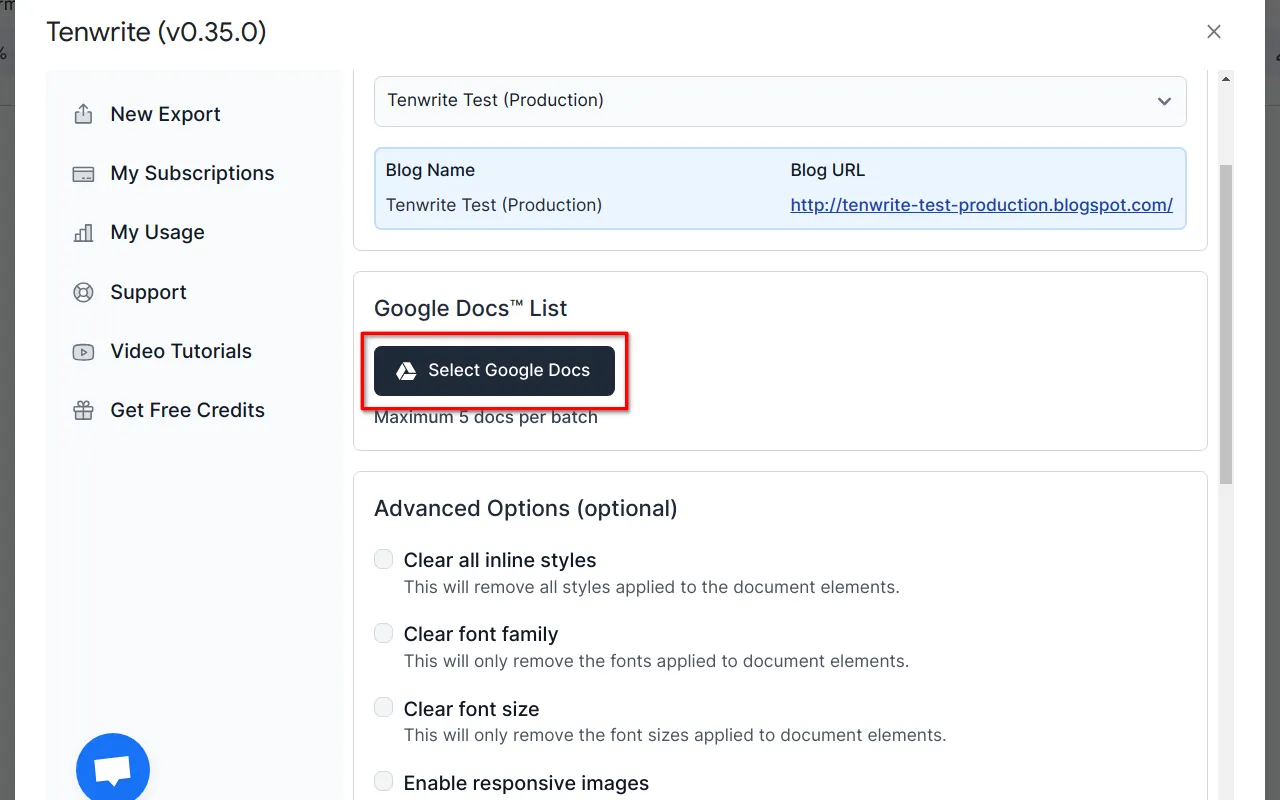
Step 4: Choose Google Docs™ Document to Export
Click on the Select Google Docs button to launch the built-in Google Drive™ UI.
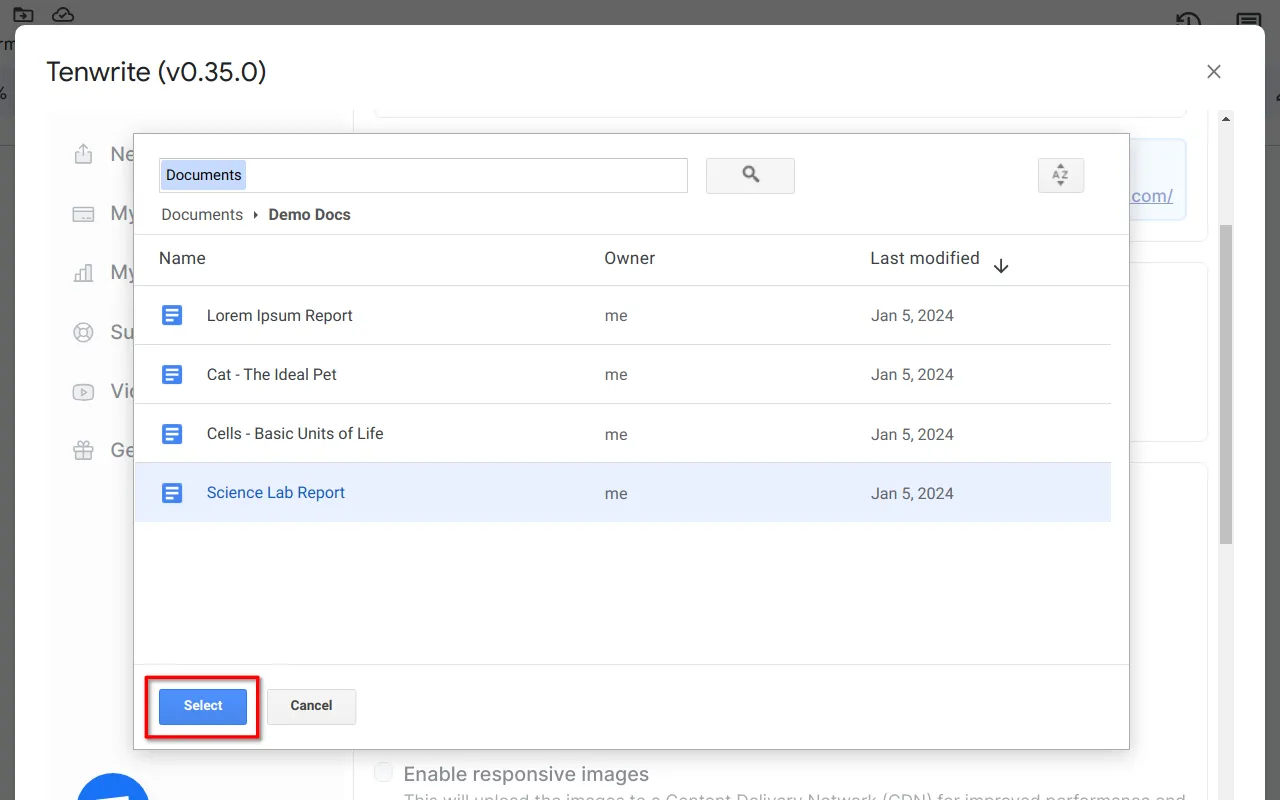
On the Google Drive™ file picker UI, select the Google Docs™ document that you want to export and click on Select button.
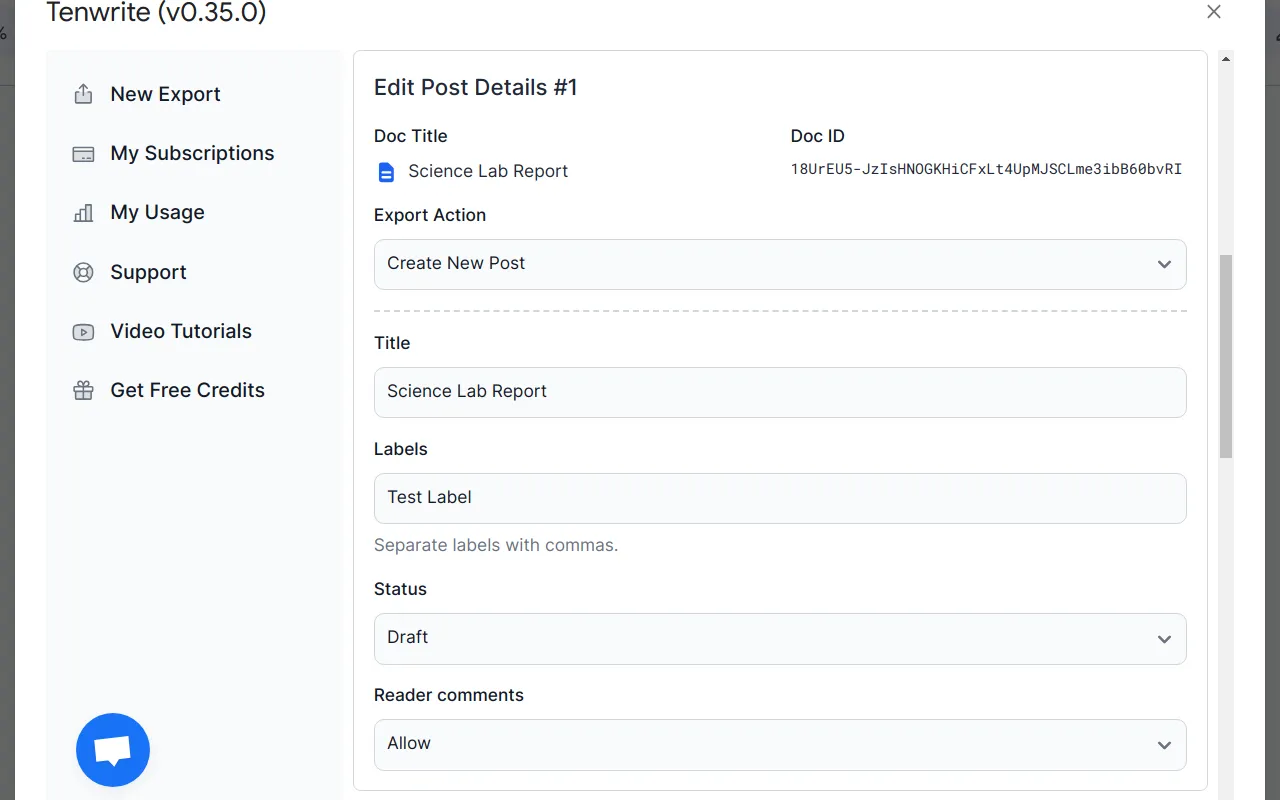
Step 5: Customize Post Details
Click on the Edit button to edit the post details.
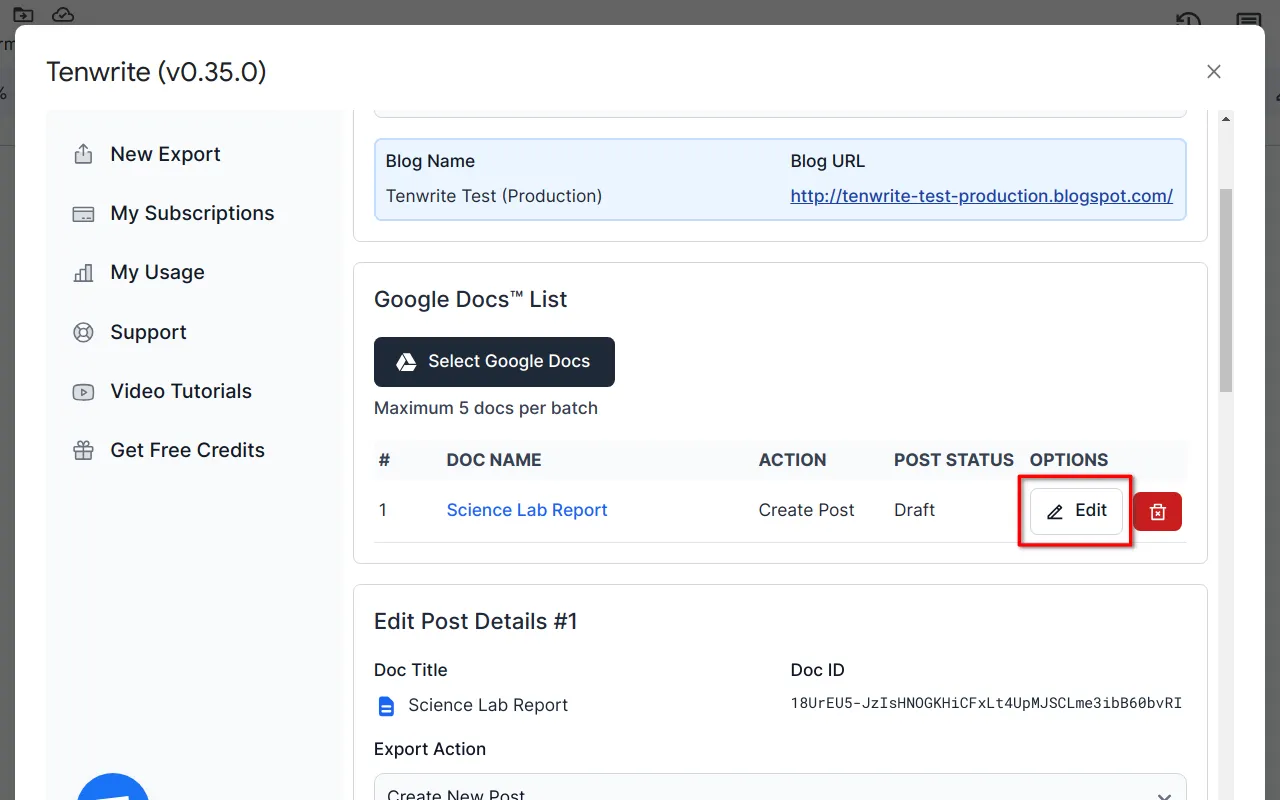
Customize the Post Title, Labels, Post Status, Reader Comments for the Blogger™ post.
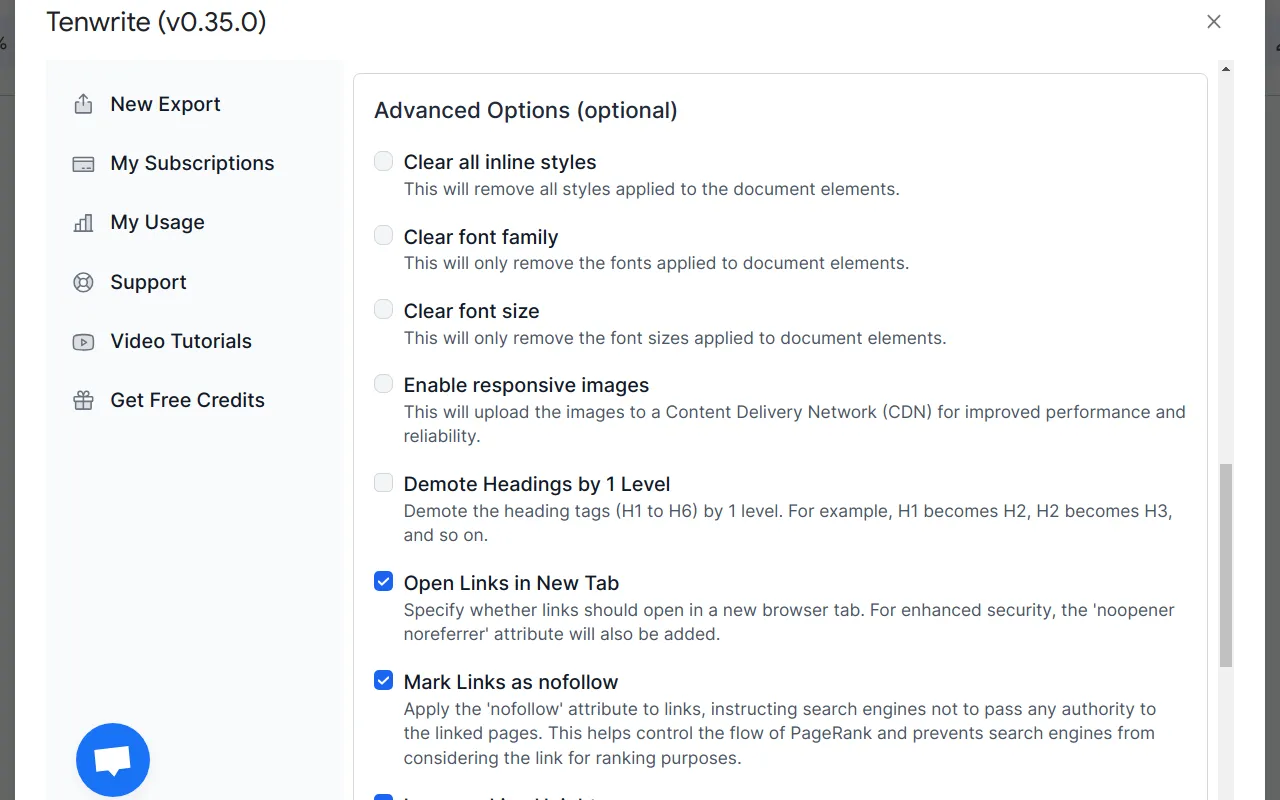
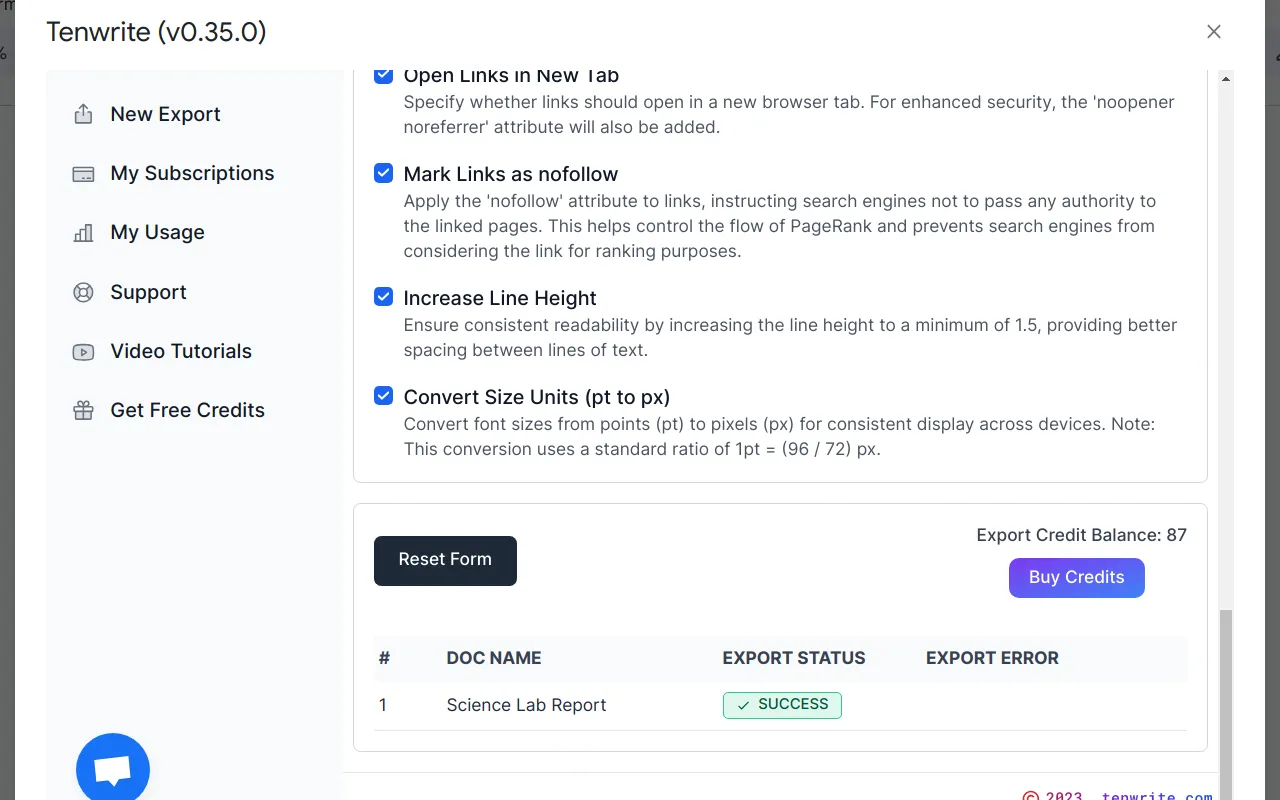
Step 6: Configure Advanced Options
Review and enable advanced options as per your requirements.
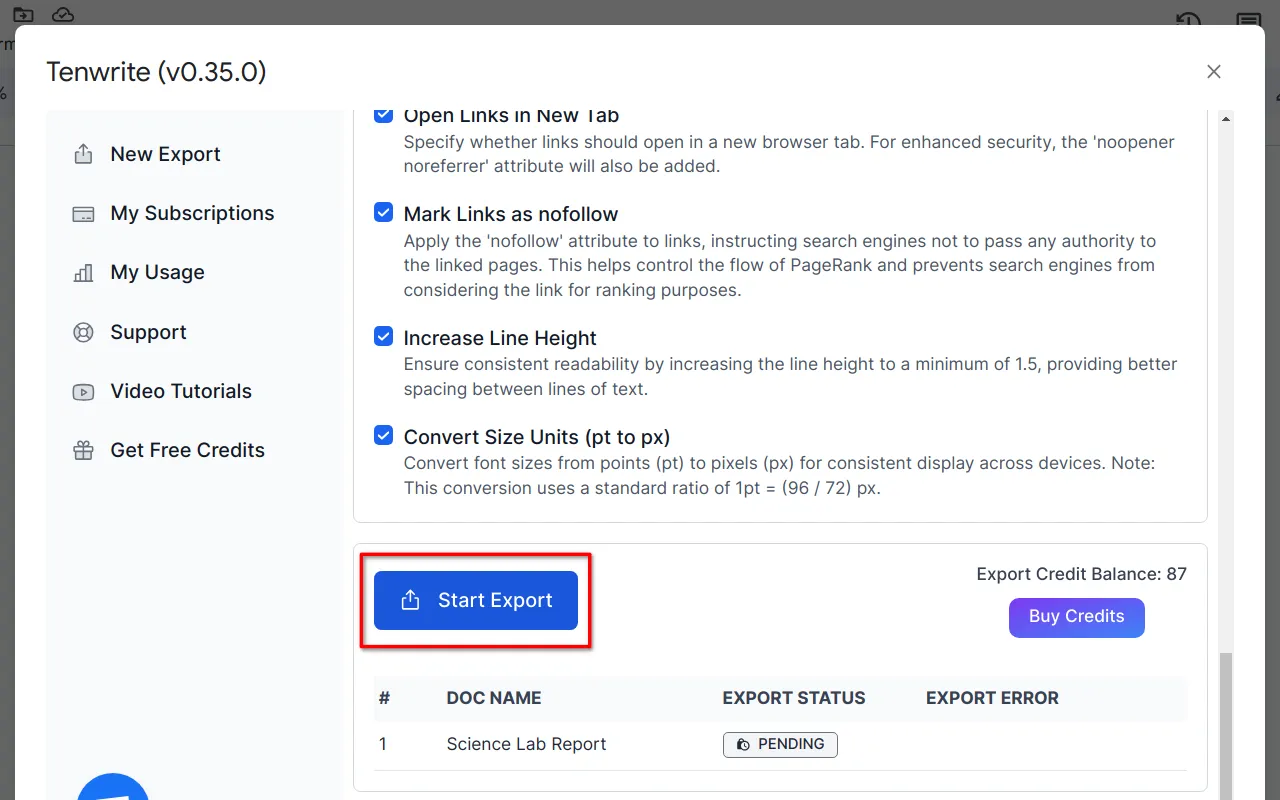
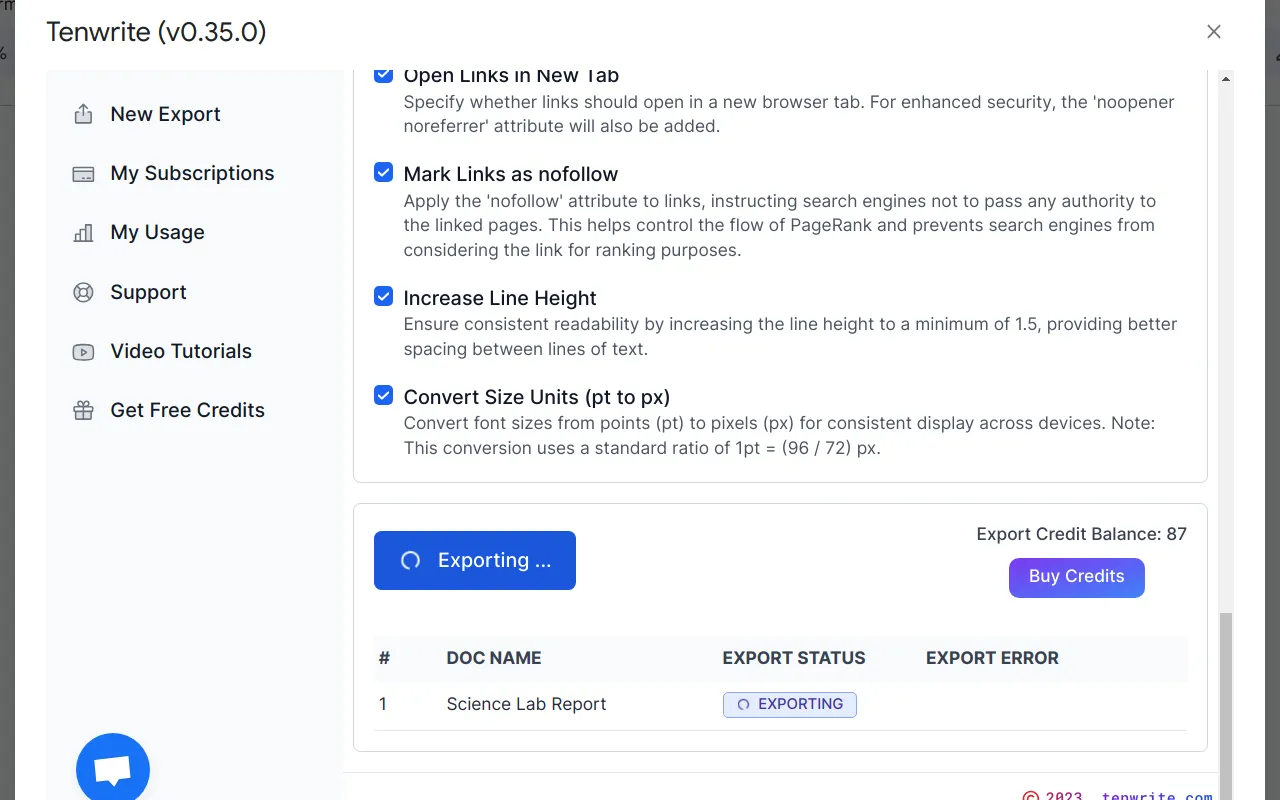
Step 7: Start the Export
Once ready, click on the Start Export button to start the content transfer process. You’ll receive a notification once the export process is completed.
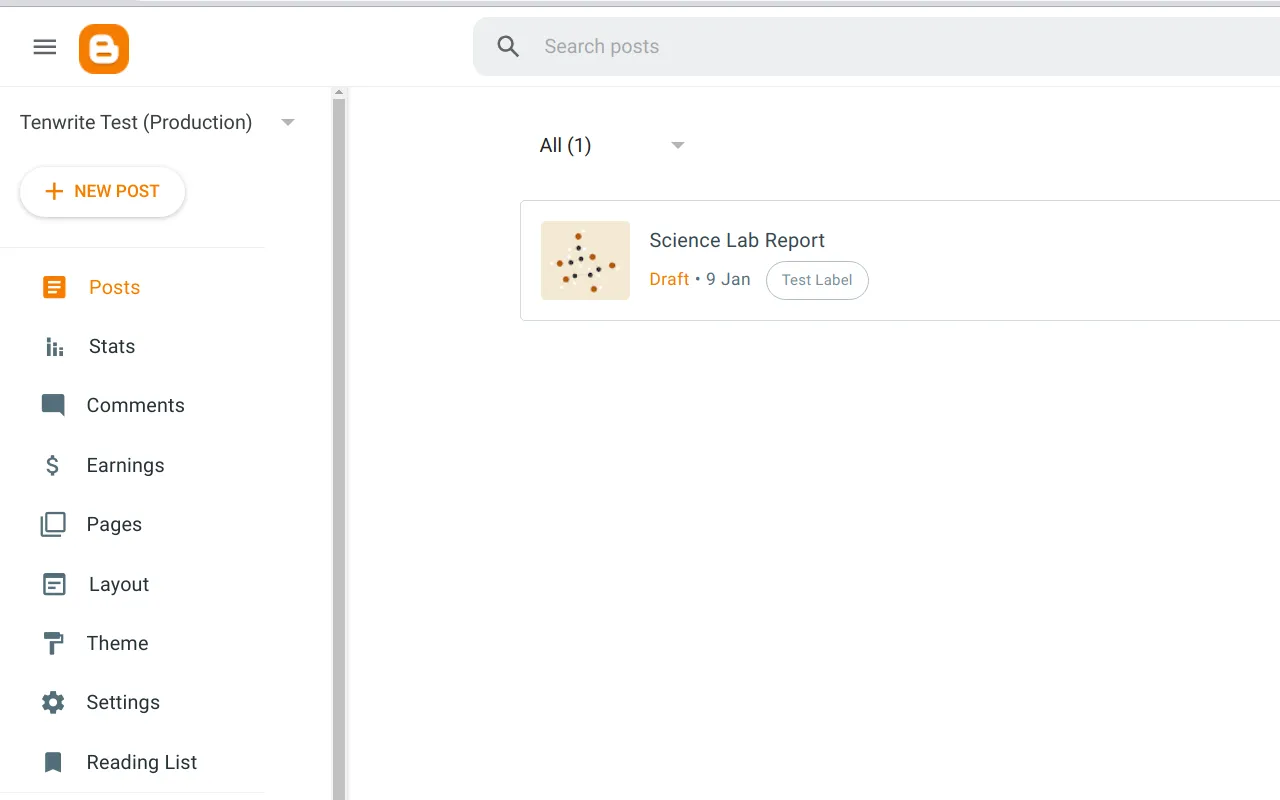
Step 8: Check the Exported Post in Blogger™ Admin Portal
Finally, login to your Blogger™ site and check the post.
Troubleshooting
If you encounter any issues or need any further assistance, please contact me at support@tenwrite.com.
Congratulations!
You’ve successfully completed the process of exporting your Google Docs™ content to Blogger™ using Tenwrite. Your content is now seamlessly transferred. We congratulate you on this achievement and wish you continued success in your blogging journey!
Thank you for choosing Tenwrite for your Google Docs™ to Blogger™ content migration. We appreciate your trust in our product. If you have any questions, encounter issues, or simply want to share your experience, feel free to reach out. I am here to assist you. Happy blogging!