Automation Overview
Tenwrite’s two automation types let you publish content without manually starting each export. Set up an automation once, and Tenwrite takes care of the publishing while you focus on writing.
Drive Automation
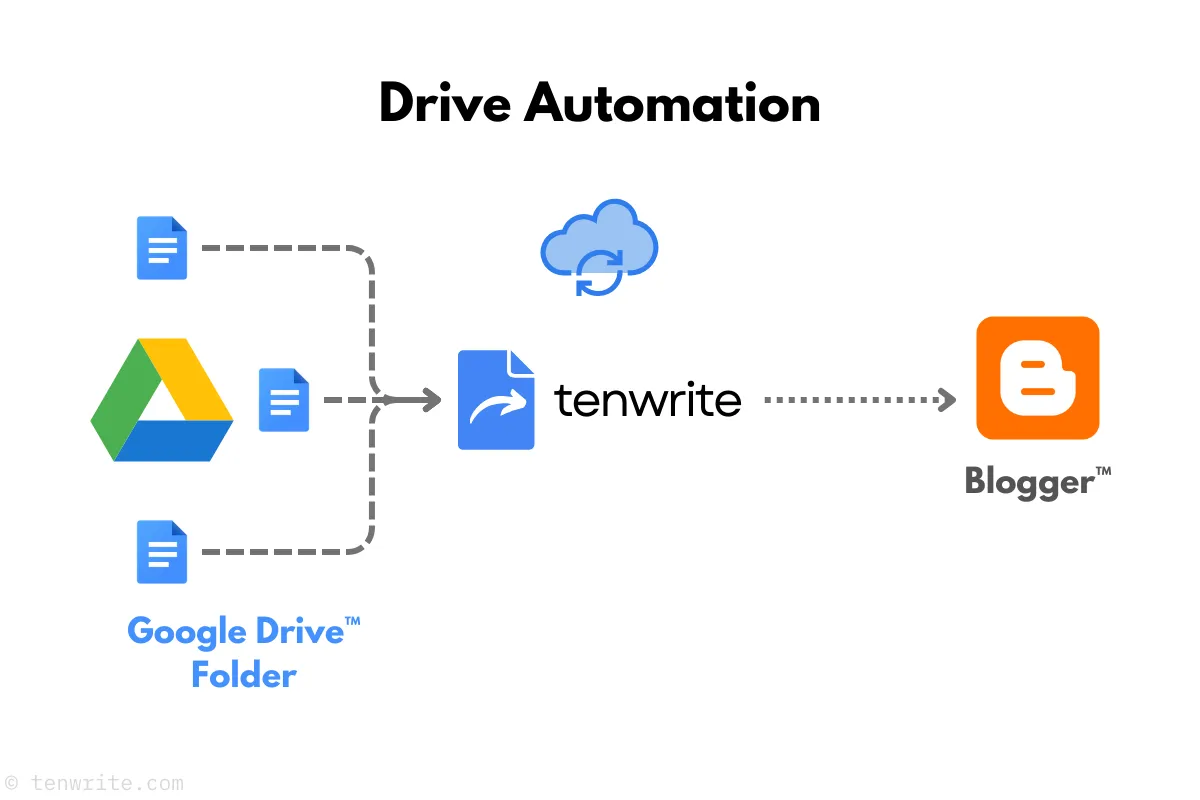
Section titled “Drive Automation”Watch a Google Drive folder and publish new or updated documents automatically.
How it works: share a folder with Tenwrite’s service account, add any Google Docs you want to publish, and Tenwrite checks the folder every hour. New documents become new posts; updated documents sync back to the existing post.
→ WordPress Drive Automation · Blogger Drive Automation
Sheet Automation
Section titled “Sheet Automation”Turn a Google Sheet into a publishing queue — each row becomes a blog post.
How it works: fill out your sheet with the required columns (site URL, title, content or Google Doc link), and Tenwrite processes it every hour. New rows create posts, changed rows update existing ones. A single sheet can target multiple sites.
→ WordPress Sheet Automation · Blogger Sheet Automation
Common questions
Section titled “Common questions”How often do automations run? Every hour. Tenwrite checks your Drive folder or Google Sheet on an hourly schedule and processes any new or changed content.
Can I run Drive and Sheet automations at the same time? Yes — you can have as many automations running simultaneously as you need, across both types and both platforms.
Can I pause an automation? Yes. Disable any automation from the Web Dashboard and it stops running without losing your configuration. Re-enable it whenever you’re ready.
Can I control metadata (title, tags, status) in automations? Yes — use Frontmatter to set post metadata directly inside each Google Doc. For Sheet Automation, use the optional columns in your sheet.
Related Guides
Section titled “Related Guides”Tenwrite is an independent product not affiliated with or endorsed by Google LLC, Blogger, or WordPress Foundation. Google Docs, Gmail, Google Workspace are trademarks of Google LLC. WordPress is a trademark of the WordPress Foundation.